Activating OTG Mode
By default, URVEPi operates all four USB ports in host mode. To switch the top-middle port to OTG mode and connect your PC to it using a USB-A cable, you need to do it manually. This means that you won't be able to transfer files from your USB-C connected PC, as this port only works as a power source and acts as an RS232 emulator.
To change this behavior and force the device into OTG mode, you need to enter the following command as a superuser:
su
echo peripheral > /sys/devices/platform/fe8a0000.usb2-phy/otg_mode
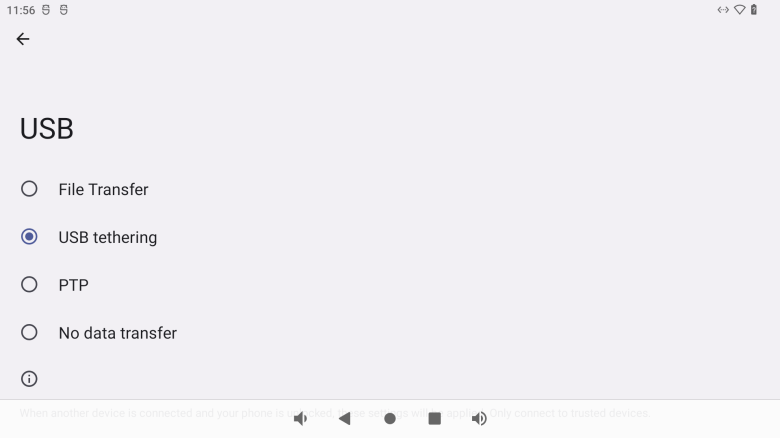
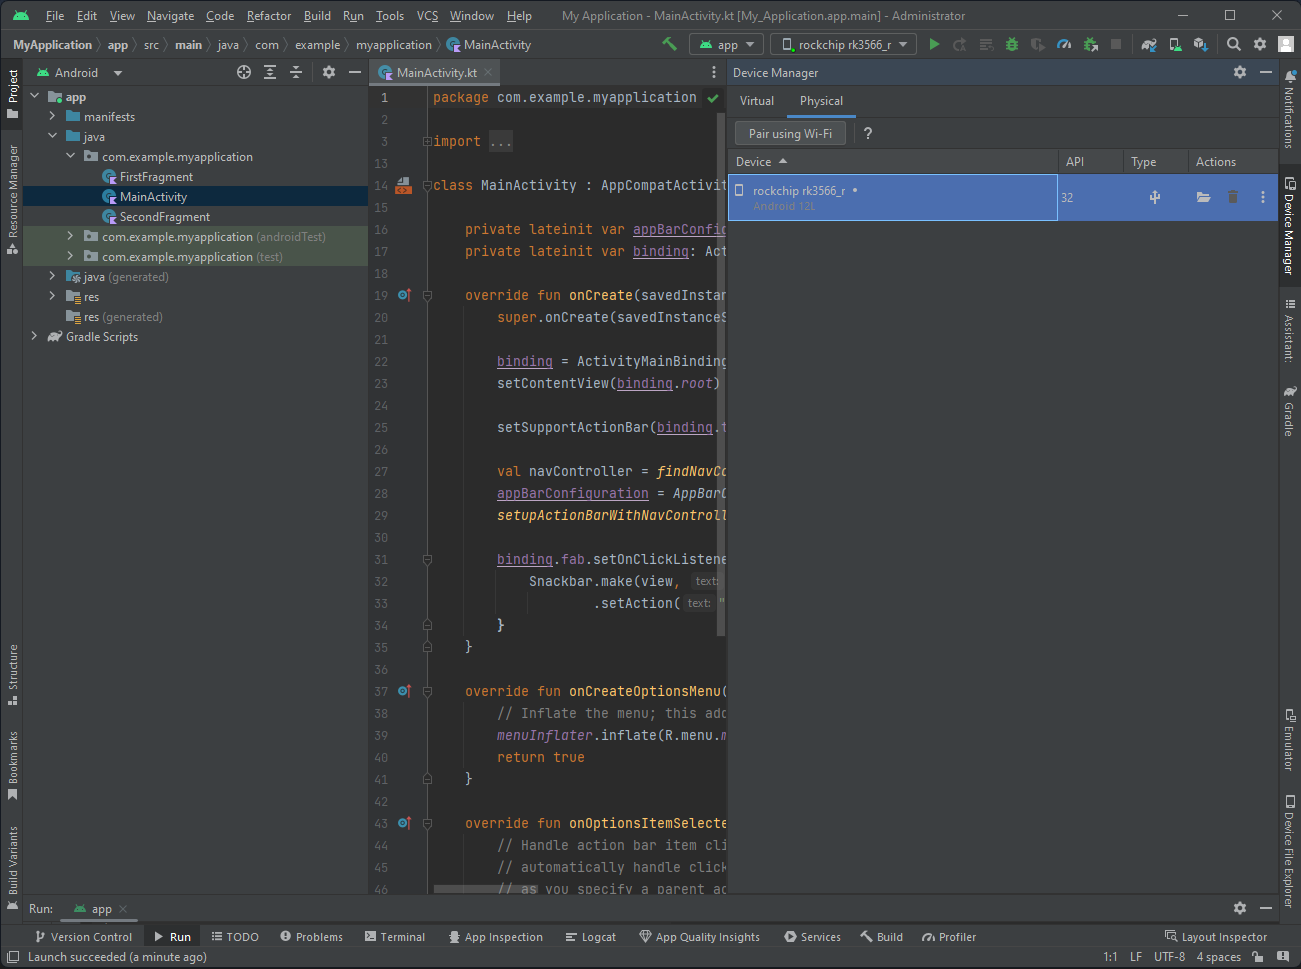
Once in OTG mode, you need to set "File Transfer" or "USB Tethering" in "Settings" / "Developer options" / "Default USB Configuration" and you can use ADB software to connect to your URVEPi. If you using Android Studio you should see URVEPi as "rockchip rk3566_r" device.
To switch back to the default mode, simply enter the following command as a superuser:
su
echo host > /sys/devices/platform/fe8a0000.usb2-phy/otg_mode
With these simple commands, you can easily control the behavior of your URVEPi's OTG mode to suit your needs.